Quick Answer
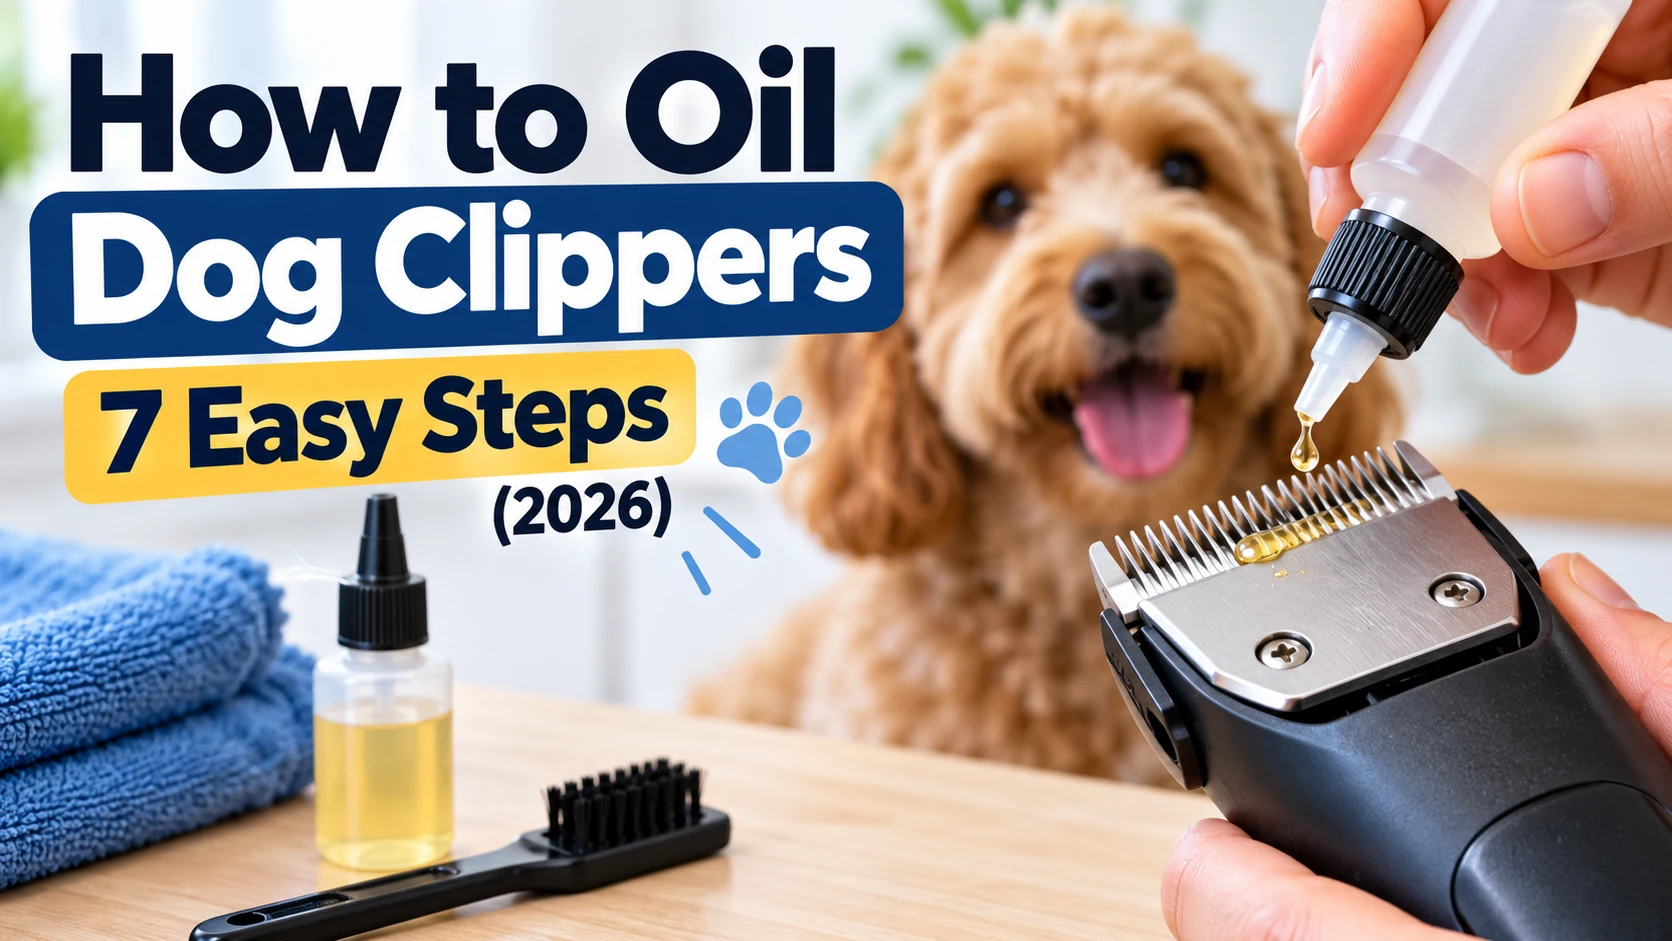
To oil dog clippers, turn them off and remove trapped hair with a cleaning brush. Apply a few drops of manufacturer-approved clipper oil across the blade teeth and at any additional lubrication points specified in the manual. Hold the blades downward, run the clippers briefly to distribute the oil, then switch them off and wipe away excess. Oil before and after grooming and during longer sessions as directed by your clipper manufacturer.
Properly oiled dog clippers cut more smoothly, create less friction, and are less likely to drag through your dog’s coat. Lubrication also helps protect metal blades from corrosion during storage.
The process is simple, but the amount of oil, its placement, and the type of blade all matter. Applying too much oil or using an unsuitable lubricant can cause problems instead of preventing them.
What Do You Need Before Oiling Dog Clippers?
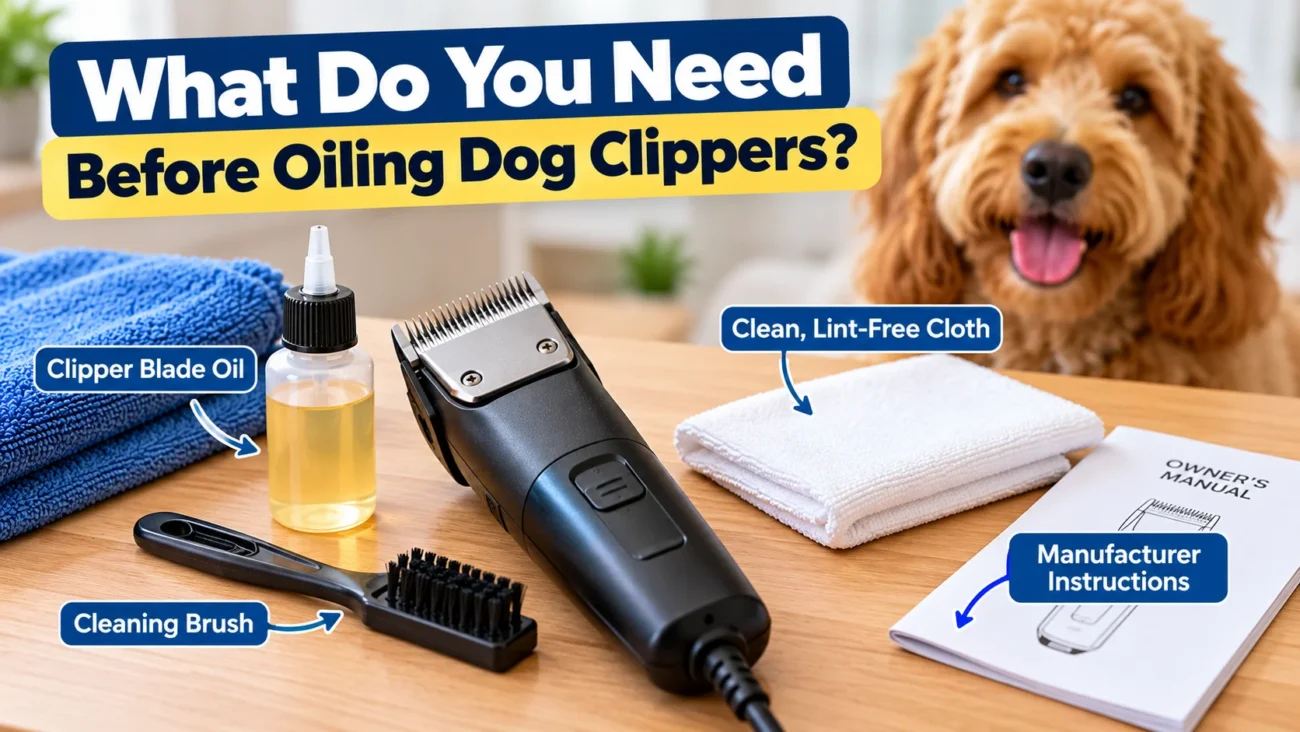
You only need a few basic maintenance supplies. Prepare them before starting so you can clean and lubricate the blades without interrupting the process.
- Clipper blade oil: Use the oil approved for your particular clipper model.
- Small cleaning brush: Remove hair from the cutting teeth and accessible blade surfaces.
- Clean, lint-free cloth: Wipe away excess lubricant without leaving fibers behind.
- Manufacturer instructions: Confirm the correct oiling points, especially on detachable or adjustable blades.
- Optional blade disinfectant: Use a product approved for your blade material when sanitation is necessary.
A dedicated clipper oil bottle with a narrow applicator tip makes controlled placement easier. You generally do not need to dismantle the blades for ordinary lubrication.
Before beginning, check the teeth for visible chips, rust, or damage. A broken cutting tooth is a reason to stop using the blade, not simply to add more oil.
How to Oil Dog Clippers in 7 Easy Steps
These steps describe a practical routine for common electric dog grooming clippers. Follow your model’s manual whenever its instructions differ.
Step 1: Turn Off and Disconnect the Clippers
Switch off the clippers before handling or cleaning the blade. Unplug a corded model or disconnect its power source when appropriate. Keep your fingers away from the cutting edge.
Place the clippers on a stable, dry surface. Never perform blade maintenance while the clippers are touching your dog’s skin or coat.
Step 2: Brush Away Loose Hair and Debris
Use the supplied cleaning brush to remove trapped fur from the blade teeth and other accessible surfaces. Brush gently, paying attention to the spaces where hair collects.
Oil works best when the blade is reasonably clean. Adding fresh lubricant directly over accumulated fur and dirt can leave abrasive particles trapped between moving surfaces.
If your blade requires deeper cleaning, remove it only according to the manufacturer’s instructions. Allow cleaned or disinfected parts to dry as directed before lubrication.
Step 3: Hold the Blade Pointing Downward
Position the clippers so the cutting teeth face downward. This helps reduce the possibility of excess oil traveling back into the clipper housing.
Keep the applicator close to the blade without touching the moving teeth. Maintain a steady grip and make sure oil cannot drip onto electrical connections.
Step 4: Apply Oil to the Correct Blade Locations
Place small drops along the exposed cutting surface, following the pattern in your manual. Many Wahl and Andis instructions describe a five-point pattern: three drops across the cutting teeth and one near each rear blade rail.
Other models specify fewer drops or different locations. Do not assume every dog clipper uses the same five-point method.
The important goal is to create a thin lubricating film between the interacting metal cutting surfaces, not to soak the complete blade assembly.
Step 5: Run the Clippers Briefly
With the blades facing downward and away from your body, switch on the clippers briefly if the manufacturer instructs you to distribute oil while running.
The moving cutter helps spread the lubricant between the blade surfaces. Models equipped with an adjustable taper lever may also require moving that lever back and forth.
Some instructions call for applying oil while the motor is running. Follow the procedure specified for your model rather than touching the blade or adjusting parts unnecessarily.
Step 6: Wipe Away Excess Oil
Switch the clippers off. Use a clean, dry cloth to blot away visible excess oil from the accessible blade surfaces.
A properly lubricated blade should have a light film rather than large drops that can drip into the housing or transfer onto your dog’s coat.
Avoid wiping directly across the sharp cutting edge with your fingers. Use the cloth carefully and handle the blade by its safer outer surfaces.
Step 7: Check the Blade Before Grooming
Inspect the cutting teeth, confirm the blade is attached correctly, and listen for unusual rattling or rough operation.
If the clippers operate normally, begin grooming only after checking that the blade temperature is comfortable. Test the blade carefully away from your dog first.
If the tool continues to pull fur, vibrate unusually, or become excessively hot, stop and investigate instead of repeatedly adding oil.
Practical Tip
Keep your approved clipper oil and cleaning brush together in your grooming kit. This makes it easier to clean and lubricate the blades before, during, and after longer grooming sessions.
Where Exactly Should You Put Oil on Dog Clipper Blades?

Oil belongs on the blade’s designated cutting and friction points, not inside the motor housing.
For many conventional metal blade sets, the important lubrication locations are the cutting teeth and the areas where the moving cutter contacts the stationary blade.
Wahl describes the placement on certain clippers as three drops across the front cutting teeth, plus one drop at each rear rail. Its official clipper blade maintenance instructions explain this five-point method.
Oster describes a three-drop method across the cutting surface for some models. These differences demonstrate why an exact drop count should not be treated as universal.
Do not pour oil into the ventilation openings, electrical housing, charging contacts, or motor compartment. Regular blade lubrication does not mean opening the clipper and oiling its internal motor.
How Often Should You Oil Dog Clippers?
Many dog grooming clippers need lubrication before and after each grooming session, with additional oil during extended use. The precise frequency depends on the manufacturer’s guidance and how heavily the blades are used.
Andis recommends oiling certain clipper blades before, during, and after use. Wahl’s dog grooming tool care guide recommends reapplying oil after cleaning and as needed during clipping.
For home grooming, a useful routine is to inspect and lubricate the blade before starting, reassess it during a long session, and clean and oil it again afterward.
Dense coats and continuous clipping can increase the need for maintenance. However, there is no single minute-by-minute oiling schedule that is appropriate for every clipper.
If the blade becomes unusually warm, stop grooming. Allow it to cool, check for accumulated fur, and inspect the lubrication. Never assume oil alone will make an overheated blade safe to use against your dog’s skin.
What Type of Oil Is Safe for Dog Clippers?
Use clipper blade oil approved by the manufacturer. It is formulated for the moving metal blade surfaces and the operating conditions of grooming equipment.
Brands such as Wahl, Andis, and Oster offer dedicated maintenance products. The safest choice is the oil specified in your clipper’s manual.
Avoid substituting cooking oil, hair oil, grease, scented cosmetic oils, or thick household lubricants. These products are not automatically suitable for precision clipper blades.
WD-40 and similar general-purpose sprays should not be treated as substitutes for approved clipper blade oil. Even sprays sold as blade coolants may not provide adequate long-term lubrication.
If you have lost the original oil bottle, check the model’s maintenance instructions rather than improvising with an unrelated household product.
What Are the Biggest Mistakes When Oiling Dog Clippers?
Most avoidable problems involve incorrect lubricant placement, inadequate cleaning, or assuming that oil solves every cutting issue.
- Applying too much oil: Excess liquid can migrate into the housing or leave an oily residue on fur.
- Oiling over trapped hair: Dirt and debris should be removed before lubrication.
- Using the wrong lubricant: Household oils and general-purpose sprays may not meet the blade manufacturer’s requirements.
- Skipping lubrication after cleaning: Cleaning products can remove the protective oil film.
- Touching moving blades: Never use your fingers to spread oil while the clippers are running.
- Ignoring blade damage: Oiling cannot restore broken teeth or correct severely worn cutting surfaces.
- Assuming coolant replaces oil: Some cooling sprays are intended to supplement, not replace, proper blade lubrication.
Safety Warning
Never continue clipping with a blade that feels painfully hot, has broken teeth, or repeatedly catches your dog’s fur. Stop grooming, check the equipment, and replace or service damaged components before continuing.
Why Are Your Dog Clippers Still Pulling Hair After Oiling?
If properly lubricated clippers continue pulling fur, the problem may involve trapped debris, dull cutting surfaces, blade alignment, or a worn drive component.
Start with the simplest checks. Switch off the tool, inspect the blade, and brush away remaining hair. Confirm that the blade is installed correctly and that its teeth are undamaged.
If your clipper has a removable blade, follow the manufacturer-approved cleaning process. Do not dismantle tensioned cutting components unless the instructions specifically describe that procedure.
Persistent dragging after cleaning and oiling can indicate that the blade needs professional sharpening or replacement. Some detachable-blade clippers can also experience wear in the blade drive assembly.
Oster’s blade maintenance FAQ explains that pulling and repeated cutting passes can indicate dull blades.
Do not press harder against your dog to compensate for poor cutting. A functioning blade should cut suitable, prepared fur without excessive force.
How Should You Clean and Store Clippers After Oiling?
After grooming, switch the tool off, remove loose fur, and clean the blade according to its instructions. Use a suitable disinfectant when necessary and allow the blade to dry properly.
Apply the recommended protective lubrication after cleaning, then remove excess oil. Check for trapped hair near accessible blade attachments and air vents without inserting tools into the electrical housing.
Store the clippers in a clean, dry location, preferably in their protective case. Keep blades protected against impacts and avoid storing the equipment in a damp bathroom or other humid environment.
For detachable blades, follow the manufacturer’s storage and reattachment directions. Proper storage supports blade condition, but it does not eliminate the need to inspect and lubricate the blade before its next use.
Frequently Asked Questions
Can You Oil Dog Clippers Without Removing the Blade?
Yes. Many clippers allow routine oiling with the blade attached. Remove it only when the manufacturer requires removal for cleaning or maintenance.
Can You Use Baby Oil on Dog Clippers?
Baby oil is not a recommended substitute unless your clipper manufacturer explicitly approves it. Use dedicated clipper blade oil to avoid compatibility and residue problems.
Should Dog Clippers Be Oiled When Running?
Some manufacturers recommend applying oil while the blades run; others instruct users to apply it first and then run the tool briefly. Follow your model’s instructions and keep fingers clear of moving teeth.
Can You Put Too Much Oil on Dog Clippers?
Yes. Excess lubricant may drip into the housing or collect debris. Apply only the specified amount and blot away visible excess.
Do Ceramic Dog Clipper Blades Need Oil?
Some ceramic-cutter blade assemblies still contain metal contact surfaces that require lubrication. Follow the instructions for the complete blade assembly instead of assuming ceramic components never need oil.
Can You Use Clippers Immediately After Oiling?
Usually, yes. Once the oil is distributed, excess is removed, and the blade is checked for temperature and safe operation, the clippers can normally be used.
Conclusion
Learning how to oil dog clippers is a straightforward way to maintain cutting performance and reduce unnecessary blade friction. The essential routine is to remove trapped fur, apply the correct lubricant to the designated blade surfaces, distribute it according to the manufacturer’s instructions, and wipe away excess.
Keep the blade clean, inspect it during longer grooming sessions, and follow your model’s recommended lubrication schedule. If the clippers continue pulling fur, overheating, or cutting unevenly after routine maintenance, investigate blade wear or mechanical problems rather than relying on additional oil.
A few careful maintenance habits can help keep grooming equipment in better working condition while making clipping more comfortable for your dog.