Quick Answer
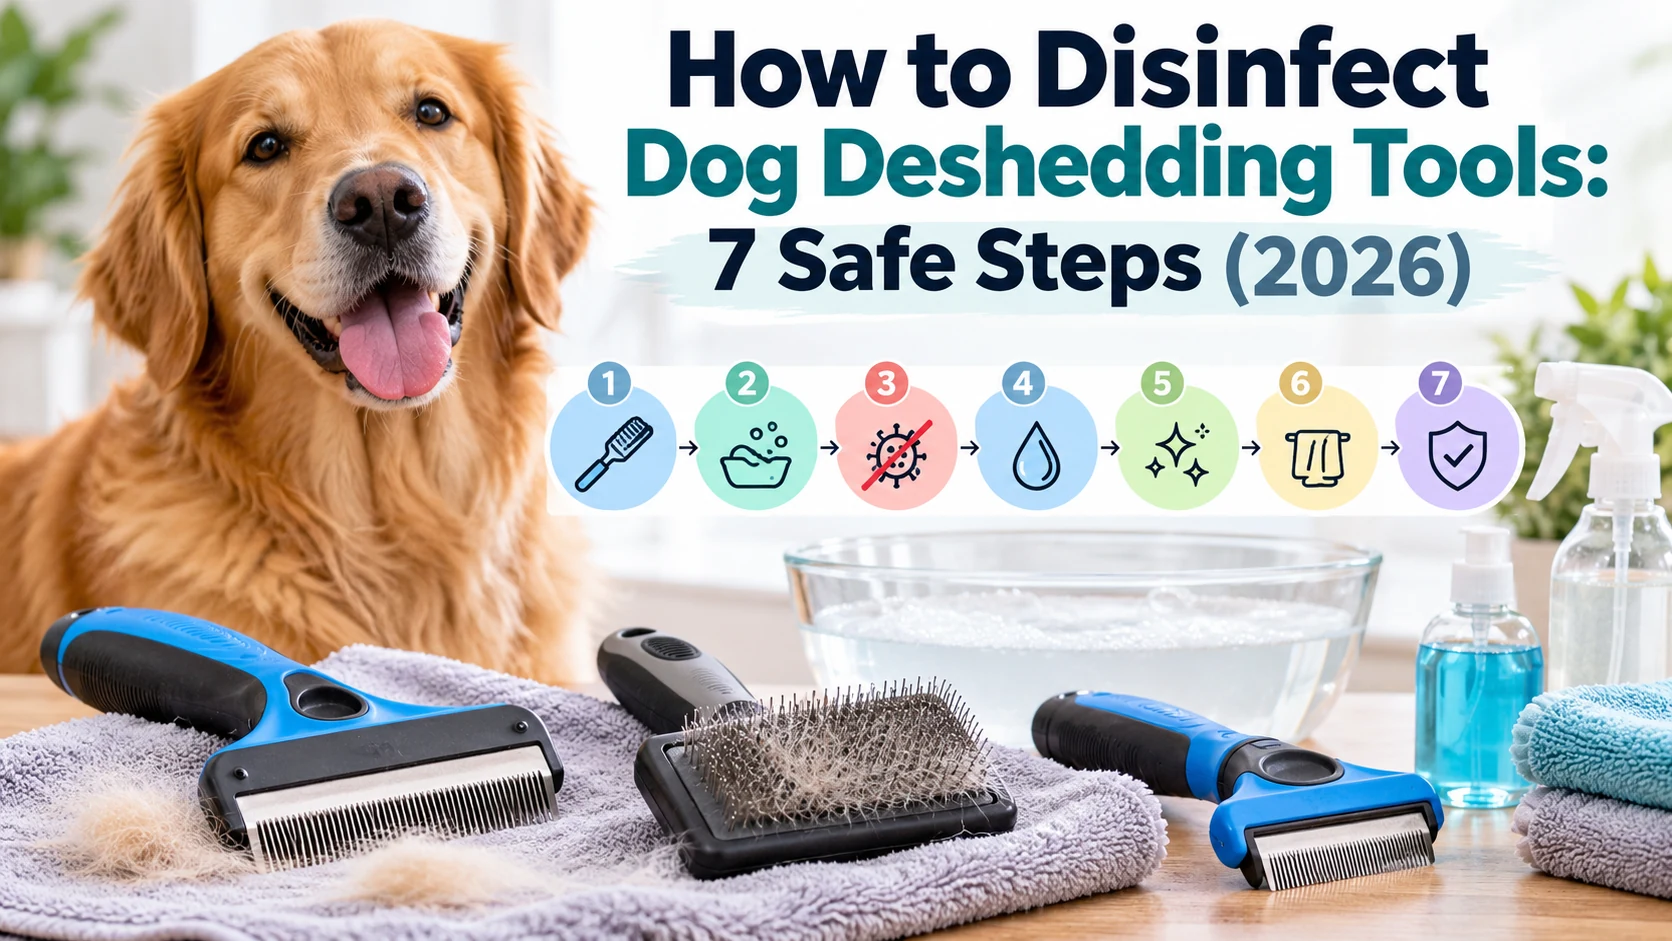
To disinfect dog deshedding tools, first remove trapped hair and wash compatible surfaces with mild detergent and water. Apply a disinfectant approved for the tool’s materials, follow the full label contact time, rinse when directed, and dry thoroughly before reuse. The CDC’s pet-supply cleaning guidance explains why cleaning and disinfecting are separate steps.
7 Quick Disinfection Steps
- 1. Remove loose hair: Clear fur from the teeth, blades, and brush head.
- 2. Inspect the tool: Check for rust, cracks, trapped dirt, or damaged parts.
- 3. Wash carefully: Clean water-safe surfaces with mild detergent and warm water.
- 4. Rinse thoroughly: Remove soap residue without soaking sensitive mechanisms.
- 5. Apply disinfectant: Use a compatible product and follow its complete contact time.
- 6. Remove residue: Rinse or wipe as required by the disinfectant label.
- 7. Dry and store: Allow every component to dry before storing or grooming.
Important Safety Rule
- Never mix chemicals: Keep dogs away from wet disinfectants, and avoid immersing tools unless their manufacturer permits it.
Dog deshedding tools collect more than loose fur. Skin oils, dirt, dandruff, and other debris can become trapped between their teeth.
I’ve put together this guide to make disinfecting less confusing, especially when a tool combines metal blades with plastic handles. You’ll learn which cleaning methods are appropriate, what to avoid, and when a tool needs replacing.
What Does Disinfecting a Dog Deshedding Tool Mean?
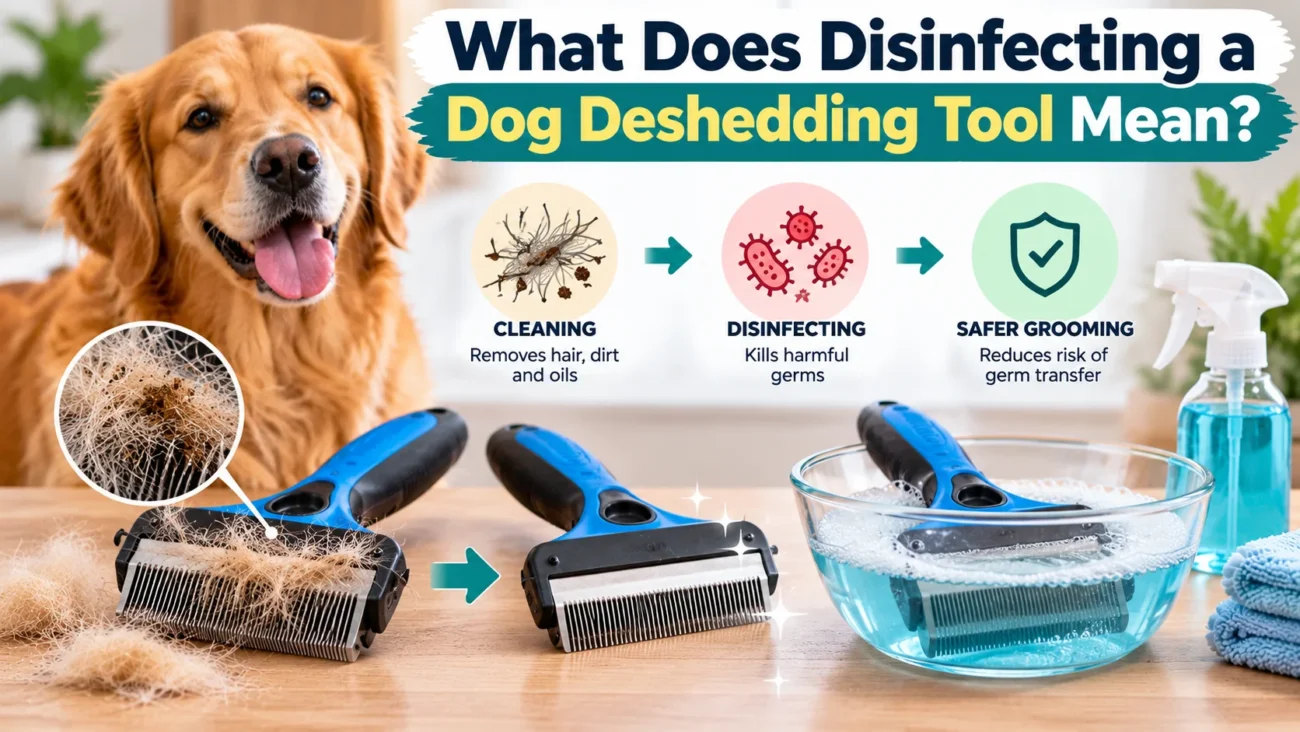
Disinfecting a dog deshedding tool means using an appropriate chemical product to kill specified germs on its surfaces. It is different from simply removing hair or washing away dirt.
Cleaning is the essential first step because hair, oils, and organic debris can interfere with disinfection.
- Cleaning: Physically removes hair, debris, dirt, and some germs using water and detergent.
- Sanitizing: Reduces certain bacteria on surfaces to a level defined by the product’s approved claims.
- Disinfecting: Kills specified bacteria and viruses when the product is used according to its label.
- Sterilizing: Uses specialized processes to eliminate all forms of microbial life and isn’t normally necessary for household grooming tools.
These distinctions matter because spraying a dirty brush doesn’t automatically make it disinfected. The product must reach the surfaces and remain there for the required time.
The EPA’s explanation of cleaning, sanitizing, and disinfecting describes why the terms aren’t interchangeable.
Why Should You Disinfect Dog Deshedding Tools?
Disinfection can help reduce the risk of transferring certain germs between grooming sessions. It becomes especially important when tools are shared or a dog has a potentially contagious condition.
Routine cleaning also helps remove buildup that can make a deshedding tool harder to inspect and maintain.
1. Reduce Germ Transfer Between Dogs
A grooming tool contacts hair, skin, and sometimes contaminated debris. Sharing it between dogs without appropriate cleaning creates an avoidable hygiene concern.
Keep separate grooming tools when a dog has a suspected contagious skin disease. Ask your veterinarian which disinfection method is appropriate before sharing equipment again.
2. Remove Skin Oils and Dandruff
Natural skin oils can accumulate around metal teeth and plastic brush heads. Dandruff and loose hair can also become lodged in narrow spaces.
Regular washing removes these materials before they form stubborn buildup.
3. Support Better Grooming Tool Maintenance
A clean deshedding edge is easier to examine for damaged teeth, corrosion, or trapped debris. Finding these problems before brushing can help prevent uncomfortable grooming.
A proper dog deshedding routine should include checking and cleaning tools rather than focusing only on removing fur.
4. Protect Dogs With Sensitive Skin
Dogs with irritated skin require careful grooming and clean equipment. However, disinfection doesn’t make an unsuitable or damaged deshedding tool safe.
Avoid brushing over open sores, inflamed patches, or suspected infections until your veterinarian advises otherwise.
What Do You Need to Disinfect Dog Deshedding Tools?
You don’t need a complicated grooming station. A few simple supplies work for most routine maintenance tasks.
- Fine-tooth cleaning comb: Helps lift trapped fur from the tool.
- Soft cleaning brush: Removes debris between teeth and around accessible joints.
- Mild dish detergent: Breaks down oils and dirt on washable surfaces.
- Warm water: Helps wash and rinse compatible components.
- Compatible disinfectant: Provides disinfection when used according to its approved label.
- Clean microfiber cloth: Helps wipe surfaces and remove moisture.
- Protective gloves: Used when recommended by the disinfectant manufacturer.
- Clean drying area: Allows parts to dry without touching dirty grooming equipment.
Choose products based on the tool’s materials. A disinfectant suitable for a plastic comb might not suit a coated metal blade or spring-loaded handle.
Check the EPA’s registered disinfectant resources when evaluating products in the United States.
How Do You Disinfect Dog Deshedding Tools Step by Step?
The safest method is to remove debris, wash compatible surfaces, disinfect correctly, and dry completely. Each step matters because skipping preparation can reduce the effectiveness of later disinfection.
Step 1: Remove Loose Hair From the Deshedding Tool
Start by removing all visible fur from the brush head or metal teeth. Use the tool’s hair-release button if it has one.
- Hold the deshedding tool over a trash bin.
- Pull away large clumps of trapped fur.
- Use a small cleaning comb to lift hair between the teeth.
- Brush away remaining debris with a soft cleaning brush.
- Inspect the grooves for stubborn material.
Work carefully around sharp or blade-like edges. Never drag your fingers directly across cutting surfaces.
Step 2: Inspect the Tool for Damage
Before using water or disinfectant, examine the handle, teeth, and moving components. Look for problems that could make the tool unsafe.
- Rust: Check metal teeth and hard-to-reach joints.
- Broken teeth: Look for sharp, bent, or missing sections.
- Loose parts: Test whether the head and handle remain securely attached.
- Cracks: Examine plastic surfaces for damaged areas that trap debris.
- Stuck mechanisms: Check hair-release buttons for smooth movement.
Replace tools with damaged contact surfaces that cannot be cleaned safely. Disinfectant won’t repair rust, cracks, or sharp edges.
Step 3: Wash the Tool With Mild Soap and Warm Water
Wash the water-safe parts with a little mild dish detergent and warm water. This removes dirt and oils before the disinfectant is applied.
- Check whether the manufacturer allows water contact.
- Prepare a small amount of warm, soapy water.
- Clean accessible teeth and surfaces with a soft brush.
- Pay attention to areas where oils and debris collect.
- Avoid soaking enclosed mechanisms unless permitted.
For tools with non-waterproof handles, use a lightly dampened cloth rather than immersing the entire product.
Don’t assume every deshedding tool is dishwasher-safe or suitable for boiling water.
Step 4: Rinse Away Detergent Residue
Remove soap thoroughly from washable surfaces. Leftover detergent can interfere with some disinfectants or leave unwanted residue.
Use clean water where allowed, or a damp cloth on parts that shouldn’t go under running water.
- Rinse exposed metal teeth when the manufacturer permits it.
- Wipe plastic surfaces with a clean, damp cloth.
- Prevent water from pooling inside handle mechanisms.
- Follow any drying requirements before applying the chosen disinfectant.
Step 5: Apply a Suitable Disinfectant
Apply a disinfectant labeled for the tool’s surface materials and intended use. Follow its application instructions rather than using an arbitrary spray or soaking duration.
Disinfectant labels identify important requirements, including dilution, suitable surfaces, and contact time.
- Read the complete disinfectant label.
- Confirm compatibility with metal, plastic, and other exposed materials.
- Wear any recommended protective equipment.
- Apply the correct quantity to the surfaces being treated.
- Keep those surfaces wet for the full stated contact time.
- Keep your dog away during application.
Contact time means how long the treated surface must remain visibly wet for the disinfectant to work as claimed.
Different products require different contact times. Never assume a quick spray and immediate wipe are enough.
For more information, see the CDC’s cleaning and disinfecting safety guidance.
Step 6: Rinse or Wipe the Tool as Directed
After the required contact time, follow the product’s instructions for removing residue. Some disinfectants require rinsing, while others have different directions.
Avoid transferring wet disinfectant residues onto your dog’s skin and coat.
- Follow all mandatory rinsing instructions.
- Use clean water only on surfaces that tolerate moisture.
- Wipe inaccessible areas carefully when permitted.
- Do not combine products during the rinsing process.
- Never use a tool while disinfectant remains wet.
If the disinfectant cannot be safely removed from a particular brush material, choose another compatible method or replace the tool.
Step 7: Dry Completely and Store Safely
Dry the tool thoroughly before returning it to storage. Pay special attention to metal teeth, screws, and movable components.
- Pat washable surfaces dry with a clean cloth.
- Inspect the tool for trapped moisture.
- Allow remaining moisture to evaporate in a ventilated space.
- Check that the teeth and handle are dry.
- Store the tool in a clean, dry container or drawer.
Avoid leaving metal deshedding tools wet overnight. Extended moisture exposure can encourage corrosion on vulnerable parts.
Only resume grooming when the tool is dry, clean, and free of concerning damage.
Which Disinfection Method Works Best for Different Deshedding Tools?
The best disinfection method depends on whether the tool is washable, nonporous, and compatible with the disinfectant. No single chemical or soaking method suits every design.
Use the following comparison to select a starting approach, then follow the specific manufacturer’s instructions.
| Tool Type | Cleaning Method | Disinfection Approach | Main Precaution |
|---|---|---|---|
| Metal undercoat rake | Remove hair and wash water-safe parts | Compatible hard-surface disinfectant | Dry metal and joints thoroughly |
| Bladed deshedding tool | Clean accessible edges carefully | Manufacturer-approved surface treatment | Avoid immersion if not waterproof |
| Plastic grooming comb | Mild detergent and water | Plastic-compatible disinfectant | Check for cracks and chemical sensitivity |
| Rubber grooming brush | Wash accessible surfaces and grooves | Rubber-compatible disinfectant | Avoid damaging or degrading the rubber |
| Self-cleaning slicker brush | Remove debris and wipe approved parts | Approved application to accessible surfaces | Protect enclosed springs and buttons |
Important: The table describes general material considerations, not guaranteed compatibility. Confirm both the disinfectant label and the grooming tool’s care instructions.
Can You Use Alcohol, Vinegar, or Bleach to Disinfect Deshedding Tools?
Some household products can clean or disinfect particular surfaces, but they aren’t interchangeable. A product must be effective for the intended purpose and safe for the tool’s materials.
Is Rubbing Alcohol Safe for Dog Deshedding Tools?
Alcohol-based products may disinfect compatible hard surfaces when their labels support that use. However, they can affect some coatings, plastics, rubber, and adhesives.
- Use only a labeled disinfecting formulation.
- Check compatibility with the tool’s materials.
- Follow the prescribed contact time.
- Keep alcohol away from flames and heat.
- Allow complete drying before grooming.
Don’t treat any bottle of rubbing alcohol as automatically suitable for every deshedding tool.
Does White Vinegar Disinfect Dog Grooming Brushes?
White vinegar isn’t a reliable substitute for a registered surface disinfectant. It may help with certain cleaning tasks, but its germ-killing ability is limited.
The CDC notes that vinegar doesn’t kill all germs. Use detergent for routine cleaning and a suitable disinfectant when disinfection is needed.
Can You Use Bleach on Metal Deshedding Tools?
Bleach solutions can disinfect certain compatible hard surfaces, but they may corrode metals or damage finishes. Don’t soak a bladed deshedding tool in bleach without explicit manufacturer approval.
Use only a suitable product at its labeled dilution and contact time. Never mix bleach with vinegar, ammonia, or another cleaner.
For many metal grooming tools, a manufacturer-approved disinfectant designed for grooming equipment is the more practical choice.
How Often Should You Disinfect Dog Deshedding Tools?
Remove hair and visible debris after every grooming session. Disinfect more often when tools are shared, contaminated, or used around potential illness.
There isn’t one universal disinfection interval for every privately owned deshedding brush. The level of exposure and the dog’s health matter.
- After each session: Remove trapped fur and visible debris.
- Regular home maintenance: Wash the tool as needed to remove oils and buildup.
- Between different dogs: Clean and disinfect shared tools when their materials permit it.
- After suspected infectious skin disease: Follow veterinary guidance before reusing equipment.
- After contact with contaminated material: Clean promptly and disinfect appropriately.
- Before long-term storage: Clean and dry the tool thoroughly.
The CDC recommends increasing cleaning and disinfection when pets are sick or household members face a higher risk of serious illness.
A consistent dog brushing routine also makes it easier to notice dirty, damaged, or uncomfortable tools.
What Disinfection Mistakes Should You Avoid?
The most common mistake is applying disinfectant without first removing dirt and hair. Another is wiping it off before its full required contact time.
These errors can reduce effectiveness or create unnecessary risks.
Seven Common Mistakes
- Skipping pre-cleaning: Hair and organic debris can prevent disinfectant from reaching the surface.
- Using an unsuitable chemical: Some products damage plastic, metal coatings, or rubber.
- Ignoring contact time: Disinfectants require the label’s stated wet-contact period.
- Mixing cleaning products: Chemical combinations can create dangerous reactions.
- Soaking non-waterproof handles: Water can enter mechanisms and encourage damage.
- Grooming before drying: Wet residues can contact your dog’s skin.
- Reusing damaged tools: Broken teeth and cracked surfaces may remain unsafe.
Don’t rely on a disinfectant’s scent as evidence that the tool is safe. Proper application, residue management, and drying matter much more.
Can Dirty Deshedding Tools Cause Skin Problems in Dogs?
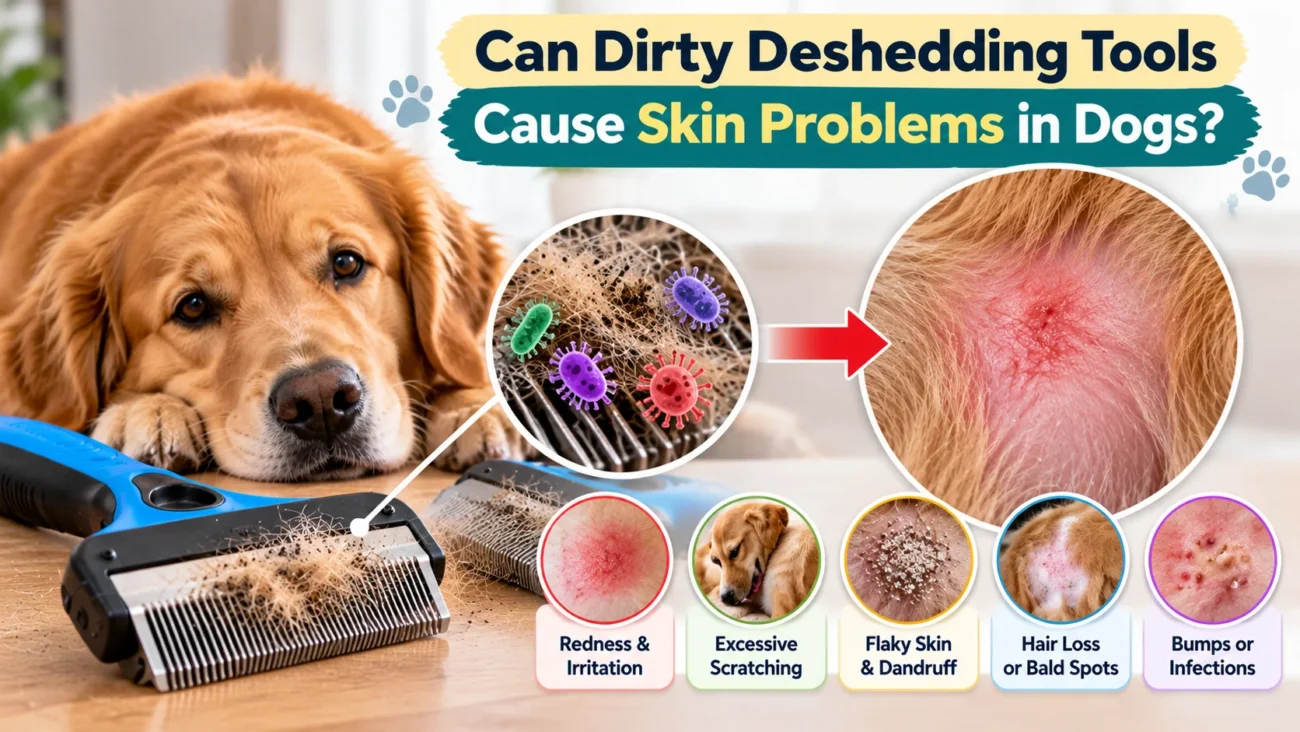
Contaminated grooming tools may contribute to transferring infectious material, especially between animals. However, a skin problem after brushing doesn’t automatically mean the tool caused an infection.
Excessive pressure, damaged teeth, allergies, and underlying skin conditions can also cause discomfort.
Warning Signs to Watch For
- Redness or irritation following grooming
- Persistent scratching or licking
- Small bumps, pustules, or crusting
- Patchy hair loss
- Broken or inflamed skin
- Unusual pain during brushing
- Unpleasant odor or skin discharge
Stop using the tool if you notice these symptoms. Contact your veterinarian for persistent irritation, discharge, painful lesions, or suspected infection.
Cleaning equipment supports hygiene, but it doesn’t replace veterinary diagnosis or treatment.
When Should You Replace a Dog Deshedding Tool Instead of Disinfecting It?
Replace a grooming tool when its condition prevents safe cleaning or comfortable brushing. Some damage cannot be corrected with detergent or disinfectant.
- Severe rust: Corrosion affects the grooming surfaces or enclosed components.
- Broken teeth: Damaged tips could scratch or pull the coat.
- Deep cracks: Damaged surfaces trap debris and resist reliable cleaning.
- Failing mechanisms: Buttons, springs, or removable heads no longer work safely.
- Persistent contamination: The tool cannot be adequately cleaned or disinfected.
- Damaged coatings: Flaking or exposed surfaces may create additional problems.
A tool doesn’t need to be expensive to be worth maintaining. However, replacement is preferable when cleaning can’t restore safe use.
How Can You Keep Your Deshedding Tools Clean Between Uses?
Simple storage habits reduce buildup and make occasional disinfection easier. They also help protect metal components from unnecessary moisture.
Easy Maintenance Checklist
- Remove trapped hair immediately after grooming.
- Keep a small cleaning brush beside your grooming supplies.
- Wipe away visible oils and residue promptly.
- Inspect teeth before each session.
- Never store a damp metal tool in a closed bag.
- Keep clean tools separate from used equipment.
- Follow the manufacturer’s maintenance instructions.
- Replace brushes with damaged or unhygienic contact surfaces.
I recommend making tool inspection part of your grooming setup, rather than something you remember only after a problem appears. It takes little effort to check the teeth before brushing.
When maintaining a complete kit, the right tool for your dog’s coat matters just as much as the cleaning routine. The step-by-step dog brushing guide explains how grooming techniques change across coat types.
Which Products Help With Deshedding Tool Cleaning?
A dedicated debris-removal brush, a simple metal comb, and a compatible disinfectant can make grooming-tool maintenance easier. Choose based on the equipment you own, not just the product’s marketing claims.
These are three products worth comparing for different cleaning needs. Any disinfectant should be checked against the grooming tool manufacturer’s instructions before use.
Disclosure: Some shopping links below are affiliate links. I may earn a commission from qualifying purchases at no additional cost to you.
🏆 Best for removing trapped hair
Andis Steel Comb
★★★★☆ 4/5 editorial suitability
A metal grooming comb with closely spaced teeth for managing fur and checking tangles. I’d consider it a practical accessory for lifting accessible trapped hair from another brush, provided the teeth fit without damaging it. This is a cleaning aid, not a disinfectant.
🧼 Best for compatible hard surfaces
Barbicide Disinfectant Concentrate
★★★★☆ 4/5 editorial suitability
A professional disinfectant concentrate used with compatible nonporous equipment. I’d consider it only when the tool manufacturer permits the treatment method and the product label covers the intended use. Correct dilution, contact time, and residue handling are essential.
💰 Best for simple maintenance
OXO Good Grips Deep Clean Brush Set
★★★★☆ 4/5 editorial suitability
A small cleaning-brush set designed to reach narrow spaces and detailed surfaces. I’d use a dedicated set for removing debris around accessible grooming-tool grooves, without forcing bristles into sharp or delicate mechanisms. It assists cleaning but doesn’t disinfect.
Frequently Asked Questions
Can I disinfect a dog deshedding brush after every use?
Yes, if the brush materials tolerate the treatment and you follow the disinfectant’s label. However, thorough disinfection isn’t always necessary after every routine session with a healthy household dog. Remove hair after each use, clean accumulated debris regularly, and disinfect when circumstances warrant it.
How long should disinfectant stay on a dog grooming tool?
Follow the exact contact time printed on the disinfectant label. Some formulations require several minutes, and the treated surface must remain wet for the specified period. There is no single contact time that applies to every disinfectant or microorganism.
Can I use human disinfectant wipes on dog deshedding tools?
Only when the wipes are suitable for the tool’s materials and their label supports the intended surface use. Follow the full contact time and residue instructions. Household wipes aren’t automatically suitable for every grooming tool, especially those with sensitive metal coatings or movable components.
Can you disinfect a FURminator deshedding tool?
You can clean a FURminator tool according to its manufacturer’s care directions, but chemical disinfection requires confirming compatibility first. Avoid assuming the handle, ejector mechanism, and metal edge can all be soaked or sprayed. If disinfection is needed, follow both the disinfectant label and manufacturer instructions.
Does hot water alone disinfect a dog grooming brush?
Warm or hot water with detergent helps remove dirt and germs, but ordinary rinsing doesn’t provide reliable disinfection. Boiling water may also damage certain plastics, adhesives, and coatings. Use an appropriate disinfectant when necessary, rather than relying on water temperature alone.
Final Takeaway: Keep Your Dog’s Deshedding Tools Clean and Safe
Knowing how to disinfect dog deshedding tools helps you maintain a cleaner grooming routine without unnecessarily exposing equipment to harsh chemicals. The key is to clean first, disinfect correctly when needed, and dry everything thoroughly.
For routine home grooming, remove trapped hair after every session and inspect your tools regularly. When sharing equipment or dealing with possible infection, follow veterinary advice and use a compatible disinfectant with the correct contact time.
Before your next grooming session: Check the teeth, remove debris, and make sure your deshedding tool is completely clean, dry, and safe to use.