Quick Answer
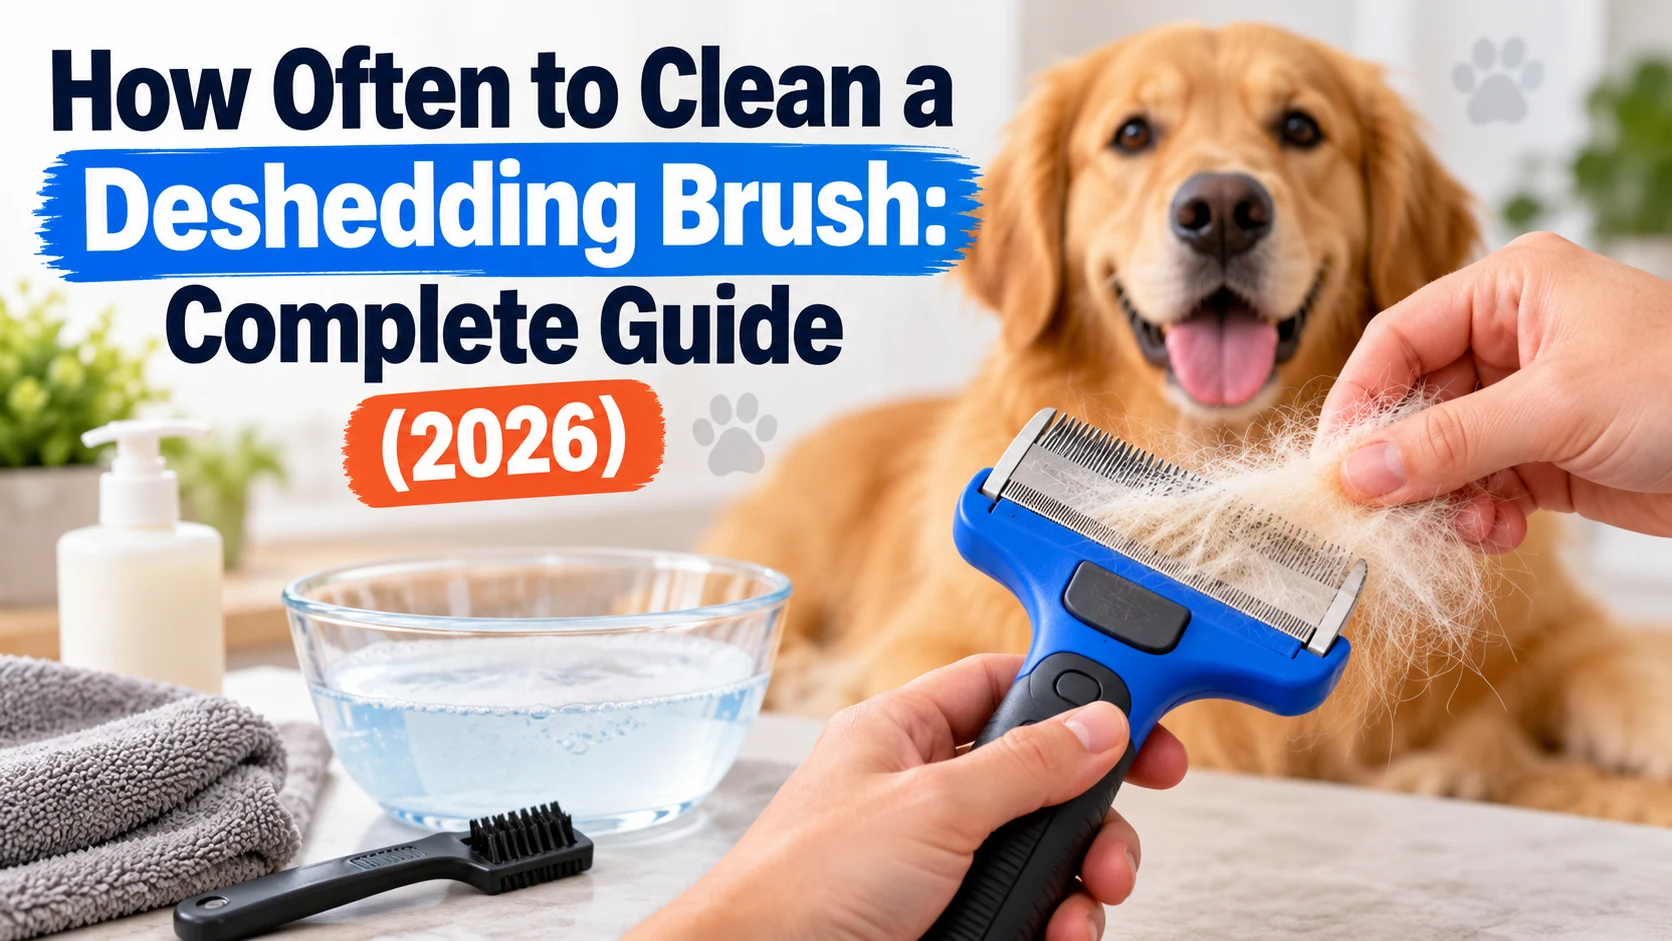
You should remove loose hair from your deshedding brush after every grooming session. For regular home use, wash the washable parts with mild soap and warm water about once a week, or sooner if they become dirty. This weekly interval is a practical maintenance suggestion, not a universal manufacturer requirement. Follow your specific tool’s care instructions and this CDC pet-supply cleaning guidance when additional hygiene precautions are needed.
Simple Deshedding Brush Cleaning Schedule
- After every use: Remove loose fur and visible debris from the brush head.
- About once weekly: Wash compatible parts if you groom regularly or notice buildup.
- During heavy shedding: Clear trapped hair repeatedly during grooming.
- After contamination: Clean promptly and disinfect when appropriate for the tool.
- Before storage: Make sure the brush is completely dry.
Important Safety Tip
- Check the instructions: Never soak a brush with an electronic component, absorbent cushion, or non-waterproof mechanism unless the manufacturer permits it.
A deshedding brush can collect a surprising amount of hair, dander, and coat oil during one grooming session. If you leave that buildup behind, your next brushing session may feel less effective.
I recommend keeping brush maintenance simple: remove loose hair immediately, wash when needed, and dry thoroughly. Here’s how to decide what your particular brush requires.
Why Should You Clean Your Deshedding Brush Regularly?

Regular cleaning removes trapped hair, skin flakes, dirt, and grooming-product residue from a deshedding brush. It also helps you inspect the tool for damage before the next grooming session.
A clean brush is easier to examine and maintain. You can spot bent teeth, damaged pins, and stubborn debris before they cause trouble.
What Builds Up Inside a Deshedding Brush?
Deshedding brushes collect more than loose fur. Their teeth and surrounding surfaces can also trap materials from your dog’s skin and coat.
- Loose undercoat: Dead hair accumulates between the teeth.
- Dander: Tiny flakes of dead skin collect around the brush head.
- Natural oils: Skin oils can leave a coating on the teeth.
- Outdoor debris: Dust, dirt, and small particles may become trapped.
- Product residue: Grooming sprays and conditioners can leave deposits.
Hair buildup is usually the most visible problem. However, an apparently hair-free brush may still have an oily coating.
Can a Dirty Deshedding Brush Affect Your Dog?
A dirty or damaged deshedding brush may pull less smoothly through the coat. Trapped debris and bent teeth can also make grooming uncomfortable.
Cleaning is particularly important when a dog has a contagious skin condition. Shared equipment may transfer contaminated material between animals.
The CDC’s healthy-pet hygiene resources explain why regular cleaning matters for household pet supplies.
Cleaning alone does not guarantee that every harmful microorganism has been removed. Some situations require disinfection with an appropriate product.
How Often Should You Clean Different Types of Deshedding Brushes?
Most deshedding brushes benefit from hair removal after every use, but their washing needs vary. The brush’s design, materials, and frequency of use determine the best maintenance schedule.
The table below gives practical starting points for routine household grooming. Always use the manufacturer’s instructions when they differ.
| Brush Type | Hair Removal | Suggested Washing | Main Precaution |
|---|---|---|---|
| Metal deshedding tool | After every session | When dirty; weekly check | Dry the metal completely |
| Slicker brush | After every session | When buildup develops | Avoid soaking padded heads |
| Undercoat rake | After every session | As needed for oil and dirt | Check joints and rotating teeth |
| Rubber grooming brush | After every session | Weekly if frequently used | Check material compatibility |
| Self-cleaning slicker | After every session | When residue accumulates | Keep retracting mechanism dry |
Remember: These washing intervals are care suggestions rather than fixed scientific standards. A brush used occasionally on a clean dog may require less frequent washing.
How Often Should You Clean a FURminator Deshedding Tool?
Remove collected hair from a FURminator after each grooming session. Wash its deshedding edge when dander, oil, or other residue begins accumulating.
FURminator recommends warm water and mild soap when necessary. Its official tool-care instructions also emphasize complete drying before storage.
The FURejector button helps release trapped hair. However, that button does not replace occasional cleaning of the metal edge.
Should You Clean Your Brush More Often During Shedding Season?
Yes, heavy shedding usually means more frequent hair removal during grooming. You may need to clear the brush head several times throughout one session.
However, extra fur does not automatically mean the brush needs repeated washing with soap. Clean according to visible debris and residue.
For a broader grooming plan, see my guide to deshedding frequency during shedding season.
How Do You Clean a Deshedding Brush After Every Use?
Routine brush cleaning starts with removing loose hair and checking for debris. A quick maintenance routine can prevent buildup between more thorough cleanings.
Here is the process I recommend for a typical manual deshedding tool.
Step 1: Remove the Loose Hair
Hold the brush over a trash bin and gently remove the collected fur. Use the hair-release feature if your model includes one.
A small comb can help lift stubborn hair from some brush heads. Avoid scraping delicate teeth with sharp metal objects.
Step 2: Inspect the Teeth and Brush Head
Look closely at the spaces between the teeth. Check for skin flakes, dirt, and any remaining strands of hair.
- Inspect the ends of metal teeth.
- Look for bent or broken pins.
- Check moving parts for trapped fur.
- Examine the handle and attachment points.
Damaged teeth should never be forced back into shape while the brush is being used. Replace the tool if its grooming surface cannot be made safe.
Step 3: Brush Away Remaining Debris
Use a soft, dry cleaning brush to loosen remaining debris. Work gently between the teeth without bending them.
For brushes with densely packed pins, carefully separate trapped fur rather than pulling hard. Excessive force can damage the head.
Step 4: Wipe the Surface When Necessary
If the handle or brush head feels greasy, wipe compatible surfaces with a lightly dampened cloth. Avoid forcing water into enclosed mechanisms.
For washable metal edges, follow the manufacturer’s cleaning instructions. A mild soap wash may be appropriate when residue remains.
Step 5: Dry and Store the Brush
Dry any damp surfaces with a clean towel. Let remaining moisture evaporate before placing the brush in storage.
Protect exposed teeth from impact and store the tool somewhere dry. A protective edge guard is useful when the manufacturer supplies one.
How Should You Deep Clean a Deshedding Brush?
Deep cleaning removes residue that ordinary hair removal leaves behind. For a frequently used, water-compatible brush, checking weekly for buildup is a reasonable routine.
Before washing, inspect the handle, cushion, and internal mechanism. Never assume every deshedding brush can be submerged.
What Supplies Do You Need?
- A small bowl of comfortably warm water
- Mild soap or manufacturer-approved cleaner
- A soft cleaning brush
- A clean microfiber cloth
- A dry towel
- A clean drying area
Follow These Six Cleaning Steps
- Remove all loose fur. Clear the brush head and release button before adding water.
- Check water compatibility. Determine which parts can safely get wet.
- Apply mild soap. Clean washable surfaces using warm soapy water.
- Gently loosen residue. Use a soft brush around the teeth without scraping their protective finish.
- Rinse approved surfaces. Remove soap completely while protecting non-waterproof components.
- Dry thoroughly. Wipe accessible surfaces and allow hidden moisture to evaporate before storage.
I prefer starting with the least aggressive cleaning method. If a dry brush removes the debris, there’s no reason to expose delicate mechanisms to unnecessary water.
Never use a dishwasher unless the manufacturer specifically labels the entire tool dishwasher-safe. Hot water and cleaning cycles may damage some handles or brush components.
What Is the Difference Between Cleaning and Disinfecting a Deshedding Brush?

Cleaning removes visible dirt, hair, oils, and some germs using soap and water. Disinfecting uses an appropriate chemical product to kill specified germs on compatible surfaces.
The distinction matters because a brush can look clean without being disinfected. However, routine household grooming does not necessarily require chemical disinfection after every use.
When Is Disinfection Necessary?
Consider disinfection when a brush may have contacted infectious material or when your veterinarian recommends it. Extra care is also important when sharing grooming equipment between animals.
- Contagious skin disease: Seek veterinary guidance about cleaning and tool reuse.
- Shared grooming equipment: Prevent possible transfer of contamination between pets.
- Contact with bodily waste: Clean and disinfect compatible equipment appropriately.
- Vulnerable pets: Use additional hygiene precautions when a veterinarian advises them.
The CDC recommends following the disinfectant label, including its required contact time. Not every disinfectant is appropriate for every grooming tool.
A metal-and-plastic tool might tolerate a particular disinfectant while a padded brush may not. When compatibility is uncertain, contact the manufacturer.
Can You Use Vinegar or Bleach on a Dog Brush?
Vinegar should not be considered a reliable replacement for an approved disinfectant. The CDC notes that evidence is insufficient to recommend it for consistently killing germs on pet supplies.
Bleach can disinfect certain compatible surfaces when properly diluted and used according to instructions. However, it can also damage grooming tools or leave potentially harmful residue if misused.
Never mix bleach with ammonia, vinegar, or other cleaners. Keep pets away during disinfection and follow all rinsing and drying requirements.
What Happens if You Never Clean Your Deshedding Brush?
A neglected deshedding brush can accumulate hair, oils, debris, and residue. Over time, this buildup can make grooming less convenient and complicate tool inspection.
Several practical problems may appear.
- Clogged teeth: Packed hair makes additional fur harder to collect.
- Uneven grooming: Trapped debris can interfere with smooth movement.
- Unpleasant odor: Residue and moisture may create unwanted smells.
- Hidden damage: Accumulated fur can conceal bent pins or corrosion.
- Hygiene concerns: Dirty equipment can carry contamination between uses.
Not every grooming difficulty comes from an unclean brush. Tool design, coat type, grooming pressure, and tangled hair also influence performance.
If your tool seems ineffective even after cleaning, review the correct method for using a deshedding tool on a dog.
How Can You Tell When a Deshedding Brush Needs Cleaning?
Visible fur is the clearest sign that a brush needs attention. You should also inspect it when grooming feels unusually difficult or the head looks dirty.
Watch for the following signs.
- Hair remains packed between the teeth.
- The brush head has visible flakes or dirt.
- The grooming edge feels greasy.
- A hair-release button does not move smoothly.
- The tool has an unusual smell.
- Moisture remains around metal components.
Cleaning can resolve problems caused by debris, but it cannot repair damaged teeth. Replace a brush that is cracked, corroded, or unsafe for skin contact.
How Do You Prevent a Deshedding Brush From Getting Dirty Too Quickly?
You cannot prevent a deshedding brush from collecting hair because that is its purpose. However, a few grooming habits can reduce unnecessary dirt and residue buildup.
Groom a Clean, Dry Coat When Appropriate
Many metal undercoat deshedding tools are designed for dry coats. Dirt and heavy tangles should be addressed before using them.
Check your dog’s coat and skin before every session. The dog deshedding routine guide explains how to organize brushing, coat inspection, and safe undercoat removal.
Remove Hair During Grooming
Do not wait until the brush is packed with loose fur. Empty the collected hair whenever buildup begins affecting the tool.
For example, a heavily shedding double-coated dog may fill a brush head repeatedly. Clearing the tool between passes keeps maintenance manageable.
Store Tools in a Clean, Dry Location
Choose a storage spot away from standing water and heavy dust. Protect the grooming head from being crushed or dropped.
A small grooming organizer can keep your brush, comb, and cleaning cloth together. Avoid storing a damp brush inside a tightly closed container.
How Often Should You Replace a Deshedding Brush?
There is no universal replacement interval for every deshedding brush. A well-maintained tool may remain useful for years, while damaged equipment should be replaced sooner.
Inspect the grooming head regularly rather than relying on a calendar.
Signs Your Brush May Need Replacing
- Broken or bent metal teeth
- Sharp or damaged grooming edges
- Cracked plastic or loose components
- Visible corrosion or deterioration
- A malfunctioning hair-release mechanism
- Damage that cannot be safely cleaned or repaired
A brush that repeatedly catches healthy hair may also be unsuitable for your dog’s coat. Consider switching tool types instead of applying extra pressure.
For a general overview of grooming equipment and coat compatibility, see the complete dog deshedding guide.
Which Deshedding Brushes Are Easiest to Maintain?
Easy-clean features can make regular grooming less frustrating. I would prioritize accessible brush heads, durable materials, and a design that releases trapped fur without excessive pulling.
These three established grooming tools suit different coat types and cleaning preferences. The ratings below are editorial suitability estimates, not verified customer reviews or hands-on test scores.
Affiliate disclosure: Some links below are Amazon affiliate links. Qualifying purchases may generate a commission at no additional cost to you.
🏆 Best for Heavy Undercoat Shedding
FURminator Undercoat deShedding Tool for Dogs
★★★★☆ 4.4/5 Editorial Suitability
This tool features a stainless-steel deshedding edge and a FURejector button for releasing collected hair. I would prioritize it for suitable shedding double coats, where its hair-release feature makes routine maintenance convenient. Choose the correct size and coat-length version.
✨ Best for Easy Hair Removal
Hertzko Self-Cleaning Slicker Brush
★★★★☆ 4.3/5 Editorial Suitability
This slicker brush uses fine pins and a self-cleaning mechanism that retracts the pins for easier hair removal. I would consider it for routine brushing on compatible coats. Its mechanism still needs careful maintenance, so follow the manufacturer’s water-cleaning instructions.
🐶 Best for Simple Rubber-Brush Maintenance
KONG ZoomGroom Dog Brush
★★★★☆ 4.2/5 Editorial Suitability
The flexible rubber design helps collect loose surface hair without a metal deshedding edge. I would consider it for many short-coated dogs and owners who prefer a simple brush head. It is not a substitute for an undercoat tool on every thick-coated breed.
Frequently Asked Questions About Cleaning Deshedding Brushes
Do You Need to Clean a Deshedding Brush After Every Use?
Yes, remove collected hair and visible debris after each grooming session. You do not need to wash every brush with soap every time. Clean washable parts when residue develops, follow the manufacturer’s guidance, and make sure everything is dry before storage.
Can You Wash a Deshedding Brush With Soap and Water?
Many manual deshedding tools have washable surfaces, but their construction varies. FURminator allows its deshedding edge to be cleaned with warm water and mild soap when necessary. Never soak padded heads, wooden handles, or enclosed mechanisms without confirming they are water-safe.
How Often Should You Disinfect Dog Grooming Brushes?
Routine cleaning is usually sufficient for a brush used on one healthy dog. Disinfection may be necessary after suspected infectious contamination or when equipment is shared between animals. Follow veterinary advice, product compatibility requirements, and the disinfectant manufacturer’s directions.
Can a Dirty Deshedding Brush Cause Skin Irritation?
A brush containing trapped debris or damaged teeth may create uncomfortable friction or pulling. However, redness can also result from excessive pressure, unsuitable tools, or an underlying skin condition. Stop grooming if irritation occurs and contact a veterinarian if symptoms persist.
Should You Let a Deshedding Brush Air-Dry?
Yes, allowing a washable brush to air-dry after towel-drying can help remove remaining moisture. Make sure metal teeth, joints, and other accessible surfaces are completely dry before storage. Avoid storing damp equipment in closed containers, which can trap moisture.
Final Thoughts: Keep Your Deshedding Brush Clean and Ready
The easiest way to maintain a deshedding brush is to remove loose hair after every grooming session. Check it regularly for oily buildup, wash compatible parts when necessary, and dry everything before storage.
For many households, a weekly maintenance check is a useful starting point. Heavy shedding, visible dirt, and hygiene concerns may require more frequent attention.
Most importantly, keep the grooming head smooth, intact, and appropriate for your dog’s coat. A clean brush is only one part of safe, comfortable grooming.
Make brush cleaning part of your grooming routine. A few simple maintenance habits can help keep your tools ready for the next session.