Quick Answer
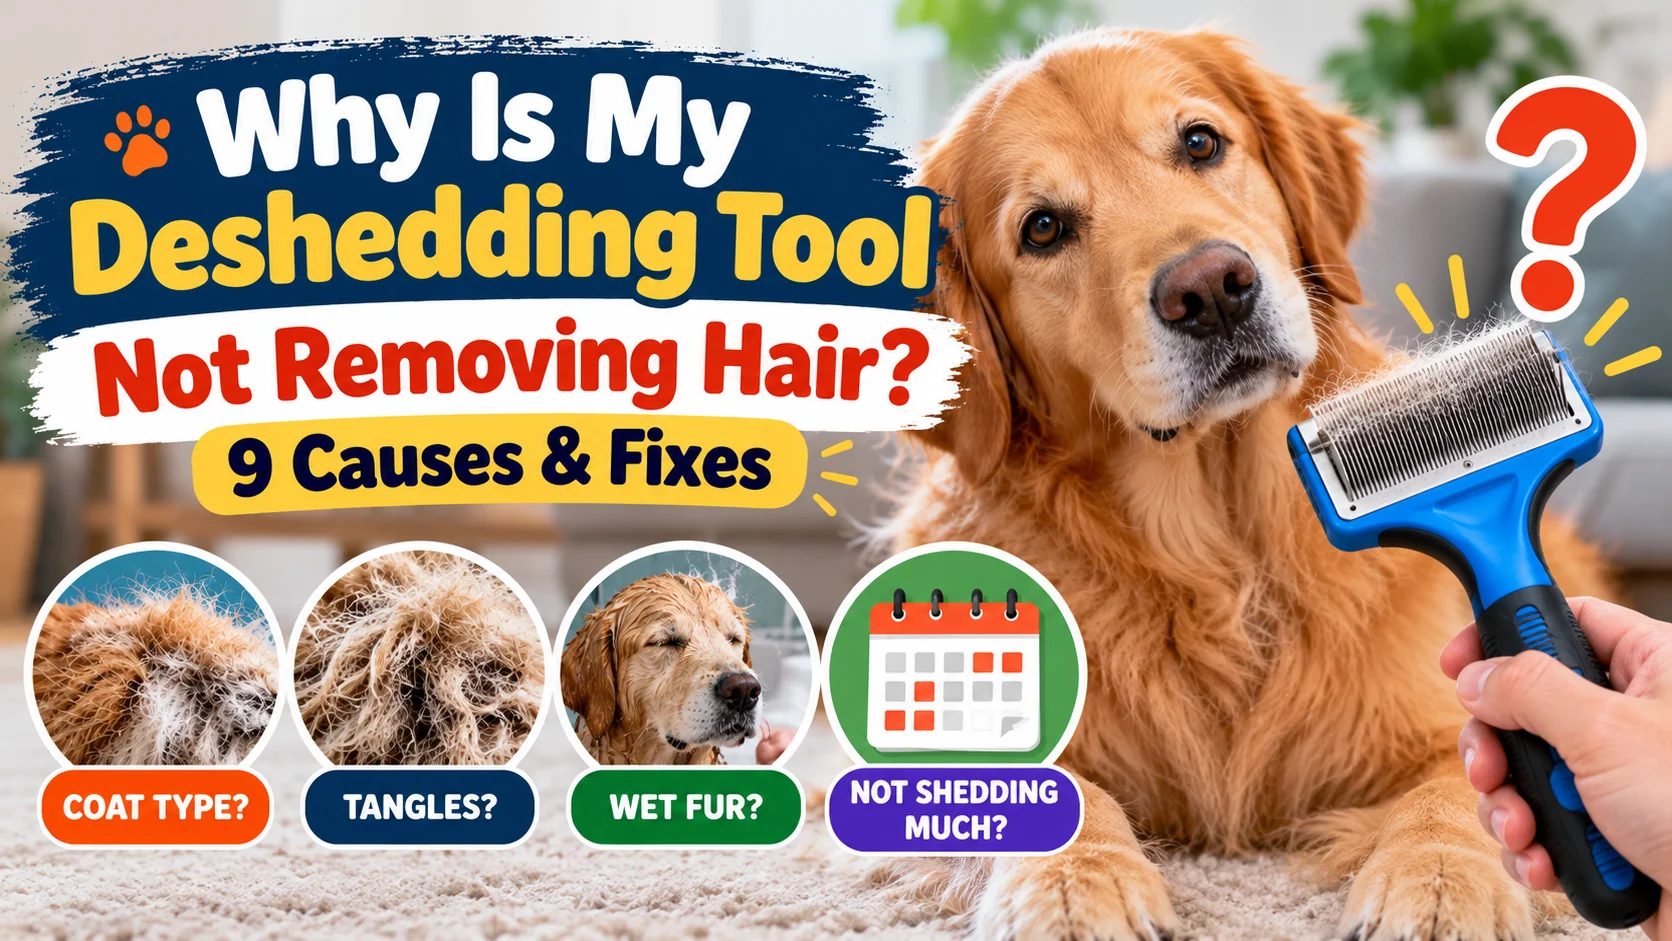
If your deshedding tool is not removing hair, the most likely reasons are an unsuitable coat type, incorrect brushing technique, tangled fur, a clogged tool, or limited loose undercoat. Check your dog’s coat before applying more pressure. According to the American Kennel Club’s dog brush guide, different coat types need different grooming tools.
Try These Quick Fixes
- Check coat type: Confirm your dog has an undercoat suitable for the tool.
- Remove tangles: Use a suitable comb before deshedding.
- Dry the coat: Use blade-style undercoat tools on clean, completely dry fur.
- Brush gently: Follow hair growth without pushing into the skin.
- Clean the teeth: Remove trapped fur and inspect the grooming edge.
- Check shedding: Your dog may have little loose hair available to remove.
Important Safety Tip
- Stop if skin becomes red or painful: More pressure will not fix an unsuitable tool and may cause irritation.
You bought a deshedding tool expecting loose fur to come away easily. Instead, the brush comes back nearly empty while hair still collects around your home.
I like to troubleshoot this problem by checking the coat first, then the grooming technique. This guide walks through nine common causes, safe fixes, and when switching tools makes more sense.
What Does a Deshedding Tool Actually Do?
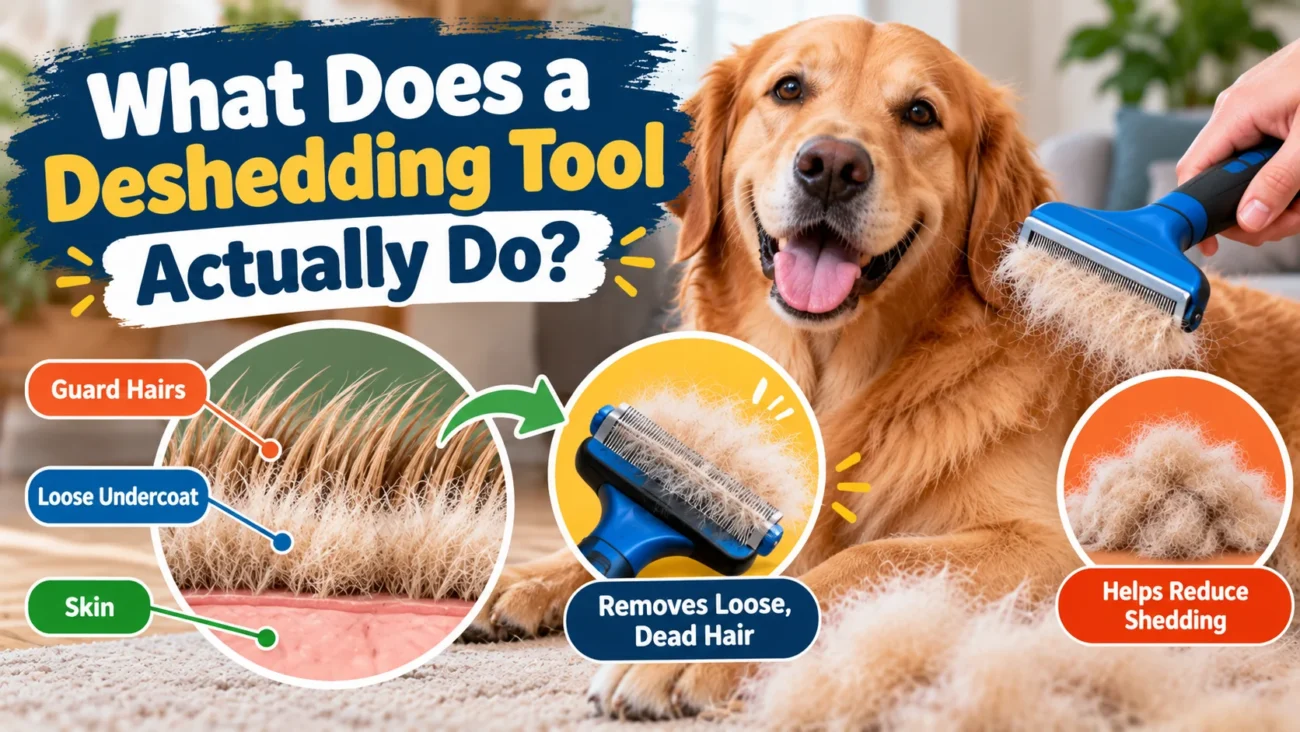
A deshedding tool removes loose, dead hair from a dog’s coat, often targeting the soft undercoat beneath the outer guard hairs. It helps collect hair that would otherwise fall out naturally.
Unlike ordinary brushes, undercoat deshedding tools are designed to reach through the outer coat. However, they cannot remove hair that isn’t loose or accessible.
How Is Deshedding Different From Regular Brushing?
Regular brushing removes surface debris, loose hair, and some tangles. Deshedding tools target loose coat material more specifically, particularly on suitable double-coated dogs.
- Slicker brush: Removes loose hair and helps work through minor tangles.
- Undercoat rake: Reaches beneath longer outer fur to lift loose undercoat.
- Deshedding edge: Collects loose undercoat from appropriate shedding coats.
- Rubber curry brush: Helps loosen surface hair on short, smooth coats.
For example, a Husky’s thick undercoat needs different attention than a Boxer’s short, smooth fur. Using the same tool on both dogs may produce completely different results.
Why Is My Deshedding Tool Not Removing Hair? 9 Common Causes
A deshedding tool usually stops collecting hair because the coat, tool, or technique isn’t a good match. Start with the simplest explanations before buying replacement equipment.
1. Your Dog Has the Wrong Coat Type for the Tool
Not every dog has a dense, loose undercoat. Dogs with continuously growing hair may benefit more from combing, trimming, and professional grooming.
Breeds such as Poodles and Maltese often need different grooming methods than heavy double-coated breeds. A blade-style undercoat tool may be ineffective or inappropriate for their coats.
- Double coat: Often responds well to suitable undercoat grooming.
- Single coat: May require a slicker, comb, or gentle finishing brush instead.
- Short smooth coat: Often works well with rubber curry brushes or grooming mitts.
- Curly coat: Usually needs careful detangling and regular trimming.
How to fix it: Identify your dog’s coat type before using the deshedding tool again. Ask a professional groomer if you’re unsure.
2. Your Dog Isn’t Currently Shedding Much
Dogs don’t release the same amount of hair every day. Shedding changes with breed, individual hair-growth cycles, season, and environment.
A clean tool after brushing may simply mean there isn’t much loose hair available. That’s not necessarily a grooming failure.
- Check whether your dog leaves hair on bedding or furniture.
- Look for loose fur when gently running your hand through the coat.
- Compare current shedding with your dog’s normal pattern.
- Avoid repeated brushing just to fill the tool with hair.
How to fix it: Maintain a sensible grooming routine instead of forcing more hair out. Let the coat’s natural shedding cycle guide your approach.
3. You’re Using the Wrong Brushing Technique
Deshedding tools need controlled contact with the coat. Rushing, holding the edge incorrectly, or brushing against growth can reduce effectiveness and cause discomfort.
The goal is to lift loose hair, not scrape the skin. Light strokes usually provide better control than aggressive brushing.
- Position your dog comfortably on a secure, non-slip surface.
- Begin on a broad, well-covered area such as the back.
- Hold the tool according to its manufacturer’s instructions.
- Brush gently in the direction of hair growth.
- Lift the tool after each stroke instead of dragging repeatedly.
- Check the skin and collected hair before continuing.
How to fix it: Test a few light strokes on one suitable area. If the tool catches, pulls, or irritates the skin, stop and reassess.
4. Mats and Tangles Are Blocking the Tool
Dense tangles can prevent a deshedding edge from moving through the coat. Loose undercoat may remain trapped beneath tangled outer hair.
Trying to force a metal tool through mats can hurt your dog. It may also bend or damage the grooming teeth.
- Minor tangles: Work gently with a suitable comb or detangling brush.
- Dense tangles: Seek help from a professional groomer.
- Tight skin-level mats: Don’t cut them with household scissors.
How to fix it: Resolve tangles before deshedding. Severe matting may require professional clipping rather than brushing.
5. Your Deshedding Tool Is Dirty or Clogged
Hair, skin flakes, dirt, and grooming residue can accumulate between the tool’s teeth. This buildup can affect contact with the coat.
Some tools include a hair-release button, but they still need periodic cleaning. Always follow the manufacturer’s care instructions.
- Remove trapped hair from the grooming edge.
- Inspect for residue, bent teeth, or visible damage.
- Clean using the manufacturer’s recommended method.
- Dry the tool completely before storage.
- Replace damaged tools instead of forcing them through fur.
How to fix it: Clean and inspect the grooming head. A damaged edge should not be used on your dog’s skin.
6. Your Dog’s Fur Is Wet or Heavily Coated With Product
Wet fur can clump and behave differently from dry hair. Many undercoat deshedding tools specifically require a completely dry coat.
Heavy conditioner residue or styling products may also interfere with grooming. A freshly washed coat should be rinsed thoroughly and dried before using a dry-coat deshedding tool.
- Use dog-appropriate shampoo when bathing is necessary.
- Rinse products thoroughly.
- Dry the coat completely, including dense inner layers.
- Remove tangles before introducing the deshedding edge.
How to fix it: Follow your tool’s dry-coat requirements. Don’t substitute extra pressure for proper coat preparation.
7. The Deshedding Tool Is the Wrong Size
Tool size and tooth design affect how well the grooming edge contacts the coat. A short-coat model may not work properly through longer, dense fur.
An oversized grooming head can also be awkward around a small dog’s body. Comfort matters as much as hair collection.
- Small dogs: Choose a manageable grooming head.
- Large dogs: Use a size designed for broader coat coverage.
- Long coats: Select equipment intended for longer fur.
- Short coats: Choose a model suited to the coat’s actual thickness.
How to fix it: Check both the dog’s weight range and hair-length guidance. Brand-specific sizing instructions take priority over general rules.
8. The Coat Needs Preparation With Another Brush
A deshedding tool isn’t always the best first step. Surface tangles and compacted fur may need gentle preparation before loose undercoat becomes accessible.
Think of deshedding as one part of grooming, not a replacement for every brush. The right sequence can improve comfort and efficiency.
- Inspect the coat and skin.
- Use a suitable slicker brush or comb to remove minor tangles.
- Work through manageable sections without pulling.
- Use the deshedding tool only where appropriate.
- Finish with a gentle brush or comb.
How to fix it: Pair tools according to coat type. Don’t repeatedly scrape an area that has stopped releasing loose hair.
9. Skin or Coat Problems Are Affecting Hair Loss
Sometimes the issue isn’t the deshedding tool. Changes in skin health or hair growth can affect shedding patterns and grooming results.
Allergies, parasites, infections, and hormonal conditions can cause abnormal hair loss. Grooming tools cannot treat these medical problems.
- New bald patches or clearly thinning areas
- Redness, sores, crusting, or persistent itching
- Unusual coat breakage or patchy hair loss
- Sudden shedding changes with other symptoms
How to fix it: Stop using the tool on affected skin and consult your veterinarian. Don’t attempt to remove more hair from an irritated area.
Which Deshedding Tool Works Best for Different Dog Coats?
The best grooming tool depends on coat structure, not how much hair you see on the floor. Use this table as a starting point for choosing safer equipment.
| Coat Type | Example Breed | Useful Tool | Main Consideration |
|---|---|---|---|
| Dense double coat | Siberian Husky | Undercoat rake | Choose suitable tooth length |
| Long double coat | Golden Retriever | Slicker and appropriate undercoat tool | Detangle before deshedding |
| Short smooth coat | Boxer | Rubber curry brush | Avoid harsh metal edges |
| Curly hair coat | Poodle | Slicker and comb | Regular detangling and trimming |
| Long silky hair | Maltese | Pin brush and comb | Prevent tangles and breakage |
These are general breed examples rather than guaranteed coat descriptions. Individual dogs, mixed breeds, and coat conditions may require a different approach.
How Do You Make a Deshedding Tool Work Better? 7 Safe Steps
Better deshedding starts with preparation and gentle technique. You don’t need to fill the brush with hair for a session to be successful.
Step 1: Confirm Your Dog’s Coat Type
Look for a soft undercoat beneath the outer hair. If your dog has a continuously growing coat, choose grooming methods designed for that hair type.
Step 2: Inspect the Skin
Check for redness, lumps, sores, sensitive areas, or painful mats. Avoid using a deshedding edge over any suspicious or damaged skin.
Step 3: Remove Minor Tangles
Use an appropriate brush or comb to work through manageable tangles. Stop when the coat resists or the dog shows discomfort.
Step 4: Prepare a Completely Dry Coat
Follow the tool manufacturer’s instructions for bathing and drying. For FURminator-style undercoat tools, complete dryness is important.
Step 5: Brush in the Direction of Hair Growth
Use light, controlled strokes without scraping the skin. Start with a small area to see whether the tool collects loose fur comfortably.
Step 6: Clear Hair From the Tool
Remove collected hair before it crowds the teeth. Recheck the grooming edge if it suddenly stops working.
Step 7: Stop When Loose Hair Decreases
Once little hair comes away, move on or finish the session. Repeatedly brushing the same area can irritate skin and damage hair.
Grooming tip: Measure success by your dog’s comfort and coat condition, not the size of the fur pile. An almost-empty brush can be a perfectly normal result.
How Often Should You Use a Deshedding Tool?
Deshedding frequency depends on breed, coat condition, shedding activity, and the specific tool. More frequent grooming isn’t automatically better.
FURminator recommends roughly one or two sessions weekly, lasting 10–20 minutes, for suitable dogs. That guidance is product-specific and should not override your dog’s comfort.
- Heavy seasonal shedding: Increase gentle grooming only as needed and tolerated.
- Normal shedding: Maintain regular coat care without excessive deshedding.
- Low-shedding coats: Focus on detangling and suitable brushing.
- Sensitive skin: Follow veterinary or professional grooming advice.
As of 2026, choosing the correct grooming tool remains more important than following a universal session count. Coat-specific care produces a more sensible routine.
Can a Deshedding Tool Damage Your Dog’s Coat?
Yes, an unsuitable or improperly used deshedding tool can irritate skin and potentially damage hair. Applying extra pressure doesn’t make the process more effective.
Tools with metal edges require particular care. Stop immediately if you see discomfort, redness, scraping, or unexpected coat thinning.
Signs You Should Stop Brushing
- Your dog yelps, pulls away repeatedly, or tries to escape.
- Skin looks red or irritated after several strokes.
- Hair appears broken rather than naturally released.
- The tool catches or pulls on the coat.
- Thin patches develop where you’ve been brushing.
If irritation persists or coat thinning appears, consult your veterinarian. Never use aggressive grooming to compensate for poor tool performance.
What Should You Do if a Deshedding Brush Still Doesn’t Work?
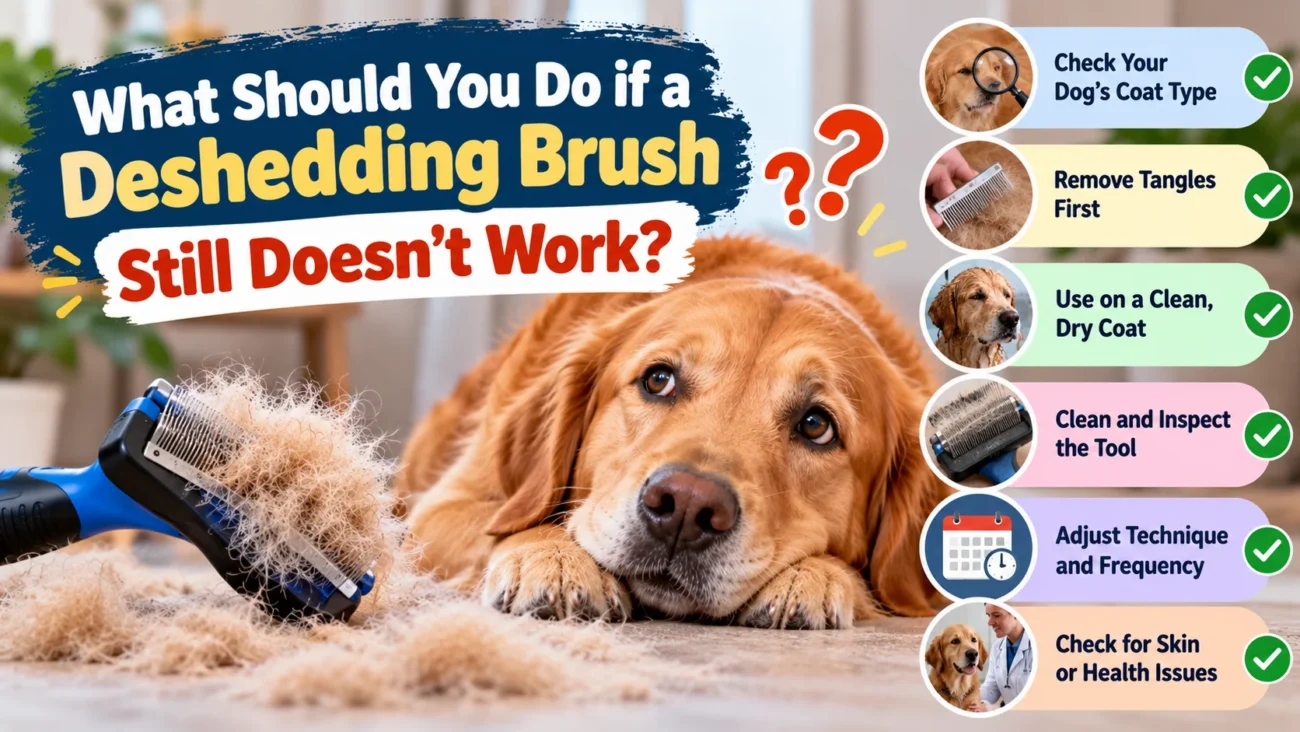
If technique and cleaning haven’t helped, stop using that tool until you’ve confirmed its suitability. Switching equipment may solve the problem more safely than brushing harder.
I recommend a simple troubleshooting check before spending money. It helps separate tool problems from normal coat behavior.
- Identify whether your dog has a suitable undercoat.
- Check the grooming head for buildup or damage.
- Confirm the manufacturer’s size and coat-length guidance.
- Try gentle brushing on a fully dry, untangled area.
- Compare the results with a suitable comb or slicker brush.
- Seek professional grooming advice if the coat remains difficult to manage.
For grooming basics, the AKC home grooming guide explains how brushing fits alongside bathing and routine skin checks.
You can also review the AKC guide to managing shedding for seasonal coat care. If you notice bald patches or unusual thinning, see its dog hair loss guidance and consult your veterinarian.
Which Grooming Tools Are Worth Considering?
If your current tool doesn’t match your dog’s coat, these three options address different grooming needs. Choose by coat compatibility rather than star ratings alone.
🏆 Best for Suitable Double Coats
FURminator Undercoat deShedding Tool for Dogs
★★★★☆ 4.5/5 editorial fit
Features a stainless-steel deshedding edge and hair-release button, with sizes for different dogs and coat lengths. My recommendation is to consider it only after confirming your dog’s coat is suitable, since it’s not a universal brush.
🪮 Best for Detangling Preparation
Hertzko Self-Cleaning Slicker Brush
★★★★☆ 4/5 editorial fit
A slicker-style brush designed to collect loose surface hair and help manage minor tangles, with a self-cleaning feature. I favor this tool category for preparing appropriate medium or long coats before more specialized grooming.
🐕 Best for Dense Undercoat Access
Safari Undercoat Rake for Dogs
★★★★☆ 4/5 editorial fit
An undercoat rake offers an alternative approach for dogs with thick or longer double coats. I’d prioritize a version with tooth length suited to the dog’s coat and use it gently after removing tangles.
Product scores reflect editorial suitability for the stated grooming use cases, not verified customer ratings or hands-on test results. As an Amazon Associate, qualifying purchases may earn a commission.
Frequently Asked Questions
Why is my FURminator not pulling out hair?
Your FURminator may not collect hair because your dog has little loose undercoat, the coat is unsuitable, or the grooming edge is clogged. First confirm the correct model for your dog’s coat and size. Use it on dry, untangled fur with gentle strokes, following the manufacturer’s instructions.
Should I press harder if my deshedding tool isn’t working?
No. Applying more pressure can irritate your dog’s skin and may damage the coat. A properly matched tool should collect loose hair without scraping or force. If gentle strokes produce nothing, check the coat type, shedding stage, tool condition, and grooming technique instead.
Does a deshedding tool work on short-haired dogs?
Some deshedding tools work on short-haired dogs with suitable undercoats. However, many short, smooth coats respond better to rubber curry brushes or grooming mitts. Check whether your specific tool supports your dog’s coat type rather than assuming all short-haired breeds need the same equipment.
Why is my dog still shedding after deshedding?
Deshedding removes loose hair that’s accessible during grooming, but it doesn’t stop natural hair growth and shedding cycles. Your dog can continue shedding afterward, especially during seasonal coat changes. Regular, gentle grooming helps manage loose hair, although no tool can eliminate normal shedding entirely.
Can I use a deshedding tool every day?
Daily use isn’t appropriate for every dog or deshedding tool. Some metal-edge tools recommend only one or two weekly sessions for suitable coats. Overuse can irritate skin or damage hair. Follow your manufacturer’s guidance and use gentler routine brushes when frequent grooming is needed.
Final Takeaway: Fix the Cause Before Replacing the Tool
If your deshedding tool isn’t removing hair, don’t assume it’s defective. Coat type, shedding stage, grooming preparation, and technique are often more important than the tool itself.
Start with a simple inspection and use light, controlled brushing. If your dog doesn’t have much loose undercoat, an almost-empty tool may mean everything is working as expected.
Your next step: Identify your dog’s coat type, inspect the tool, and try the safe seven-step routine above. If grooming causes irritation or unusual hair loss appears, stop and speak with your veterinarian.